Showing posts with label cake. Show all posts

27 September 2015

Banana & walnut loaf

Most of the time this is how cooking works for me - firstly I decide on what to make and then I go an buy the ingredients. However, for the past couple of days I had been eyeing the last three bananas that had been in the fruit bowl for a quite some time. And after having one banana with nearly every lunch this week I just could not bring myself to eating those. And there I was - with three bananas that I did not want to eat. Whenever possible I try to make sure that I waste as little (or if possible none) food as I can. So I headed to my cookbook shelf and saw Mary Berry's Baking Bible. As I was in a bit of a bake off mood I decided to flick through it - and there were two amazing banana loaf recipes. Exactly what I wanted! And when I read that one of them is very freezer friendly I was sold.

Most people probably think I'm slightly insane after what I'm going to tell you next. I'm not a massive fan of the way bananas taste like. I find the taste too dominating - whenever you make a smoothie or any other dish and add some banana, that is the only thing you can actually taste! So instead of sticking to the exact recipe I tweaked it a bit by changing some quantities and adding walnuts. 

I was really surprised at how quick and easy this cake was to make. I probably spent 10 minutes preparing it and waiting for the oven to heat up and that was about it. Very fuss free and only used one bowl, so for the people who are not very keen on having to do lots of washing up this recipe is absolutely perfect. And the result - oh my! The cake came out incredibly moist and I found the banana taste was actually quite subtle and the walnuts really added another dimension of flavours and that extra bit of crunchy texture. So after having already eaten my way through one third of the cake I found that it was perfect time to slice it all up, place in a freezer bag with a baking parchment between two slices and store it away for when I need a quick pick-me-up. This definitely makes for a perfect cure for the afternoon energy slump, speedy breakfast on the go or just something one would enjoy with a nice cup of tea. So, if you're like me and have a couple of bananas that you don't know what to do with, this recipe is definitely one to try out. 

Ingredients
- 100g softened butter
- 175g caster sugar
- 2 medium eggs
- 3 ripe bananas, mashed
- 225g self-raising flour
- 1 level tsp baking powder 
- 3 tbsp milk
- 100g walnut pieces

Directions
Firstly preheat the oven to 180C/160C fan. Grease a loaf tin and then line it with baking parchment to prevent the loaf from sticking to it. Then place all the ingredients in a bowl and mix until everything is well blended. If using an electric mixer add the walnuts after mixing everything else together and mix the nuts in afterwards using a wooden spoon or spatula. Then pour the mixture into the loaf tin and level the surface.

Bake for around 1 hour until well risen and golden brown. Leave it to cool in the tin for the first couple of minutes and then place on a wire rack to allow it to completely cool off. Cut into nice thick slices and enjoy! 

Recipe adapted from Mary Berry's Baking Bible.


2 June 2014

Marble cheesecake

So I'm finally done with my LPC exams and it feels so good to know that I'm done with exams for the rest of my life (at least I hope so!). I've spent a couple of days at my parents' place now and to celebrate the end of my school year and I decided to bake a lovely cheesecake. I usually make the classic cheesecake, but I wanted to try something new. Most of my favourite cheesecake recipes come from a book called Juustukoogid by Lia Virkus and Angeelika Kang (sorry my dear non-Estonian reads, but this book is only in Estonian) as they are relatively easy to make, don't require a huge array of different ingredients and so far every last one of them has come out absolutely amazing.

As the weather has been really bad here lately - I honestly can't remember the last time it was only +8C in the beginning of June - I wanted something slightly richer and less fruity that I usually would go for in the summer. So we were flicking through the book and a couple of possibilities caught our eye - carrot cake cheesecake, peanut butter cheesecake and Daim chocolate cheesecake to name a few - but the one that really stood out was this Marble cheesecake.

It takes slightly more time to prepare than the other baked cheesecakes I've made because you need to melt the chocolate, but leaving that aside it is as quick and straightforward to make as all the other ones. I love how you could taste a hint of curd cheese / quark (kohupiim - творог) in the cake itself and how the base reminded me of a chocolate version of a cheesecake I used to eat as a child more than 10 years ago. The cake is perfectly balanced - not too chocolatey and not too sweet and perfectly creamy. It makes a perfect teatime treat, which is guaranteed to please everyone. It tastes delicious either on its own or if you want to make it more summery or just add a twist, serve it with a lovely dollop of homemade jam or with fresh berries. 

Ingredients

(Serves 12)
Base:
- 130g butter, melted
- 75ml sugar
- 1 tsp vanilla sugar
- 1 egg yolk
- 50g dark chocolate, melted
- 250ml flour
- 1/2 tsp salt

Filling:
- 500g curd / quark / kohupiim / or ricotta cheese
- 500g Philadelphia cream cheese
- 250ml sugar
- 1 tsp vanilla sugar
- 2 tbsp flour
- 4 eggs
- 50ml milk
- 250g sour cream
- 100g dark chocolate, melted

Directions
To make the base whip together warm butter, sugar and vanilla sugar. Then add melted dark chocolate and the egg yolk. Finally add flour and salt. Put the base batter in a lined 24-cm springform tin and cook at 180C (fan) for 15 minutes.

For the filling, mix together curd, cream cheese, sugar, vanilla sugar, flour, eggs, milk and sour cream until smooth and creamy. Then divide the mixture into two parts - keep 2/3 in the same bowl and place 1/3 of it in another bowl and mix that smaller batch with the melted chocolate. Pour the light mixture on top of the base and then top it off with the chocolate mixture. To mix the layers a bit draw 8-shaped circles with a sharp knife, but be careful not to overdo it as you don't want the cake to look muddy.

Bake at 175C (fan) for 1 hour. Then let the cake cool down in the oven with the door open for another hour and then chill the cake overnight (or at least for 5 hours) before serving. In order to make it easier to take it out of the tin place the cake in the freezer for 10 minutes and then place on a serving plate, slice, top the individual slices with fruit / name if you wish and enjoy!

Recipe from a book "Juustukoogid"


20 August 2013

White chocolate & blueberry cheesecake

I am currently visiting my parents in Estonia and it is nearly impossible to stay over and not make a cheesecake (or two). Although my mum was insisting that I'd make the classic one, I really wanted to try out something new and different. And to my pleasant surprise I made such a good choice that she said that she likes this even more than the other one!

This is slightly different from the other cheesecakes I've made as it uses curd cream (this is the one I used). Curd cream is something I've only seen in Estonia and I know it's available in Scandinavia, the Baltics and Russia as well, but if you don't have curd cream, use ricotta instead.

I love trying out new cheesecakes and have to say that they make a lovely summery dessert, even though they're quite heavy. The fact that you can have berries and the cake is served chilled makes up for the heaviness. This cake is really simple to make and takes a lot less work than the ones I usually make. On top of that the blueberries go so well with the creamy vanilla cake that it just melts in your mouth. And I have to say I was pleasantly surprised by the fact that the white chocolate didn't make it too sweet and you can just barely taste it. All in all, a lovely summery dessert that's guaranteed to go down a treat.

Ingredients
(Serves 12/16)
Base:
- 300g Digestive biscuits
- 150g butter

Filling:
- 500g Philadelphia cream cheese
-  380g vanilla curd cream (quark cream)
- 1 dl sugar
- 2 dl flour
- 1,5 tsp vanilla sugar
- 3 eggs
- 1 dl cream
- 200g white chocolate
- 2 dl blueberries

Directions
First preheat the oven to 175C and line a round springform tin with baking paper. Then prepare the base. Crush the digestive biscuits and melt the butter. Mix together and press into the baking tin. Bake for 10 minutes and then set aside.

To make the filling, whip the cream cheese and curd cream. Then add sugar, flour and vanilla sugar. Add the eggs one by one and finally add in the cream. Melt the white sugar in a bain marie and add into the filling mixture.

Pour the mixture on top of the base, top it off with blueberries, cover with foil and bake for 45 minutes. Then leave it in the oven for another 30 minutes with the door open. After that place in the fridge and chill properly before serving.


5 February 2013

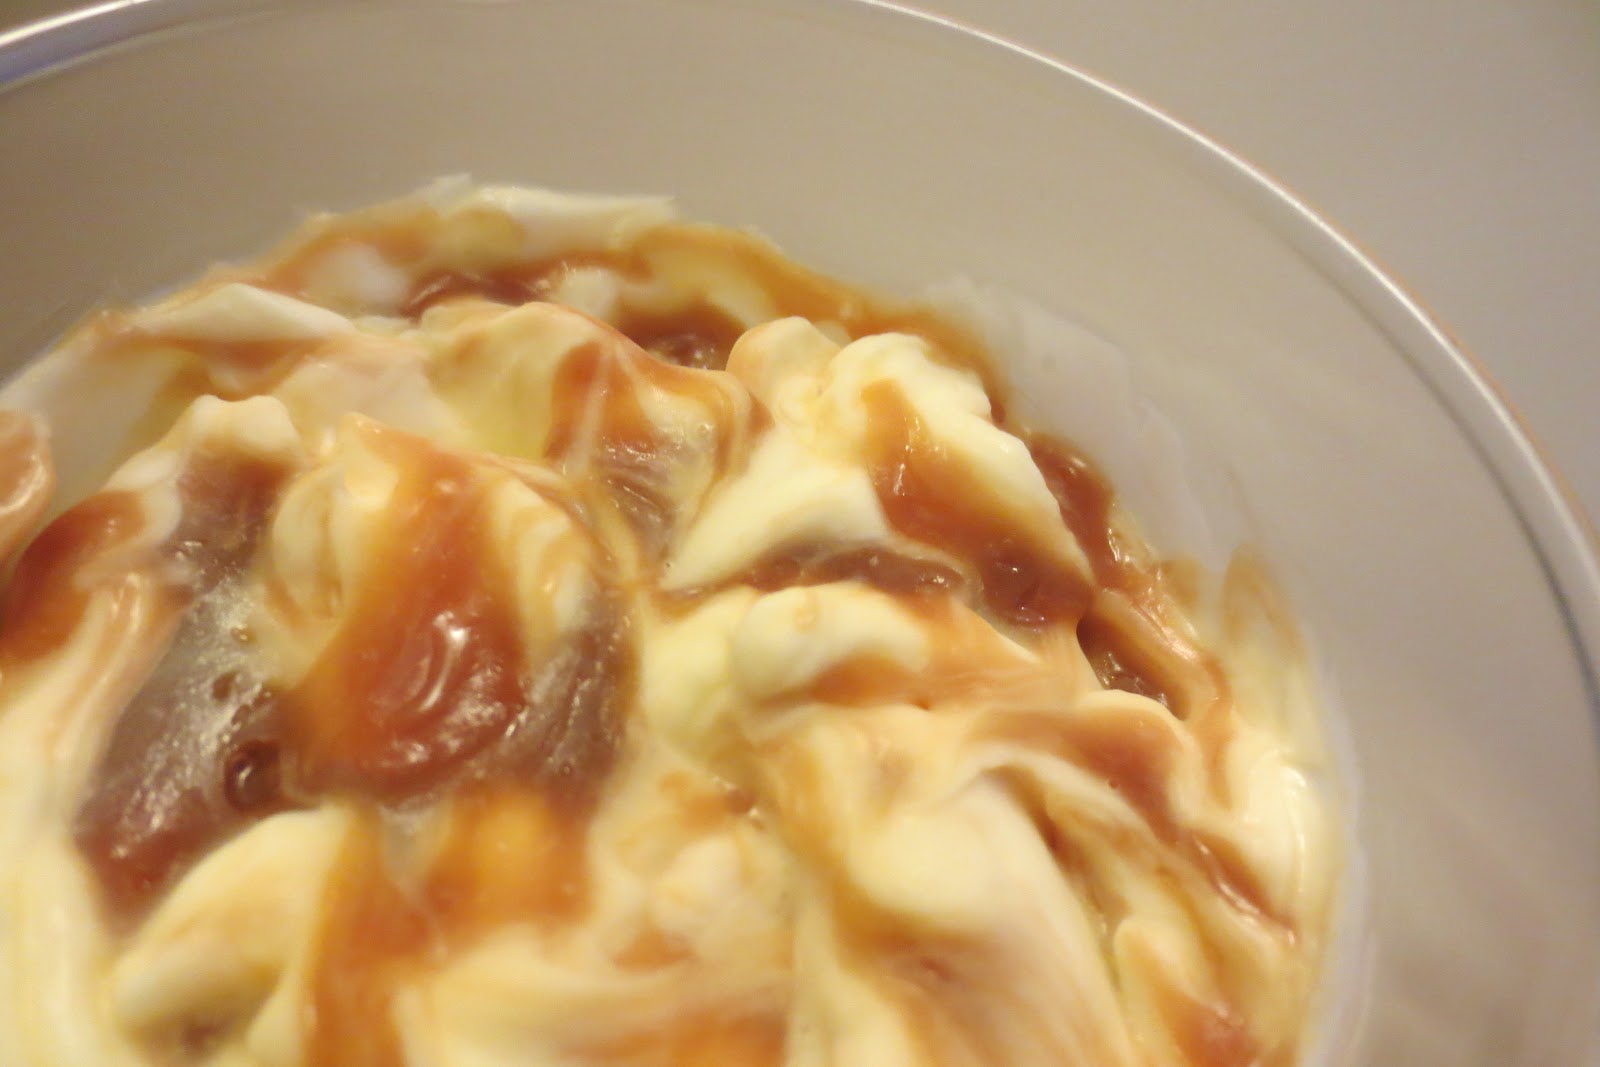
Salted caramel swirl cheesecake pots

Today I'm sharing something sweet with you for a change. I'd love to state that salted caramel is the new big thing but I'd be lying. It's been around for quite a while and ever since I tried it the very first time I've been in love. Laduree salted caramel macaroons, Artisan du Chocolat salted caramels, salted caramel latte ice-cream from Cold Stone Creamery, Charbonnel et Walker Sea Salted Caramel truffles ... This list could go on and on. The combination of sweet and salty is something that everyone I know has fallen deeply in love with. And trust me, once you try it there's no going back.

I've made the salted caramel macaroons three times now (I'll share the recipe with you soon), but today I want to share a recipe of a cheesecake incorporating salted caramel. I tried looking for recipes only for salted caramel cheesecake, but all the ones I found weren't what I was after and so after the countless hours I spent on the internet I decided to improvise. After making the Chocolate swirl cheesecake it hit me - just substitute the chocolate for generous amount of salted caramel and voila! And that's exactly what I did (in addition to serving the cheesecakes as individual portions).

This smooth and creamy cheesecake makes a perfect end for dinner or just to have as a treat on its own - perfect for any occasion and you can't go wrong with this combination.

Ingredients
(Makes 8 servings)
- 175 caster sugar
- 450g soft cream cheese (Philadelphia)
- 1 vanilla pod
- Juice of 1 lemon
- 175g creme fraiche
- 475g double cream
- 8 digestive biscuit
- 25g butter, melted

- 340g caster sugar
- 280ml double cream, room temperature
- 80g lightly salted butter
- 220g unsalted butter

Instructions
Start off by making the biscuit base. For that, crush the digestive biscuits into small crumbs and mix together with the melted butter. Mix well and then divide between the 8 small glasses or bowls you intend to serve the dessert out of.

Then make the salted caramel. To make the caramel, place the 340g caster sugar in a heavy bottomed pan and allow to melt without stirring. Once you have nice golden caramel (the darker it gets the more bitter it becomes) add the salted butter, double cream and unsalted butter. Mix well and then set aside to cool.

For the filling, mix the caster sugar, cream cheese and seeds from the vanilla pod together. In another bowl whisk the lemon juice with the cream and creme fraiche to soft peaks. Then fold everything together.

To assemble, place a layer of cream cheese filling on the biscuit base, then drizzle with a layer of salted caramel and repeat it until you have three layers of both. Then place a knife through each pot and mix the layers through nicely (but do not smudge the colour). Chill in the fridge for at least 5 hours before serving.

Cheesecake filling taken from Chocolate swirl cheesecake recipe from BBC Goodfood


17 December 2012

Chocolate swirl cheesecake

I went home to visit my parents for two weeks and I decided to use the chance to do some serious baking and cooking - it is so much easier to cook for many people and I didn't have to worry about cakes going off because to be honest, eating a cake just between the two of us before it goes off is a bit tricky, especially if you don't want to have cake for all three meals of the day.

My mum is a huge cheesecake fan (who isn't?) and as my dad likes them as well, because they are quite fresh and not sweet, I decided to try out a new cake. And it turned out so nice that I made if for my cousin's 18th birthday as well - and everyone loved it.

I've made quite a few different cheesecakes over the years and I have to admit that this one is by far the easiest and the quickest I've made. It takes just 15-20 minutes to put everything together and then all you need to do is to chill it for at least 5 hours (or preferably overnight). I love how the dark chocolate gives a little twist to the creamy and moist cheesecake. I'm in love with this cheesecake and have already come up with an idea how to vary it and obviously will keep you updated as to how that goes.

Ingredients
(Serves 9-12, depends on the size of the slices)
- 175g caster sugar (or normal white sugar)
- 450g Philadelphia cheese (I used a mixture or low fat and full fat)
- 1 vanilla pod (can be substituted with 1 tsp vanilla sugar)
- Juice of 1 lemon
- 175g creme fraiche (or 10% sour cream)
- 475ml double cream

- 150g good quality dark chocolate
- 125ml double cream

- 8 digestive biscuits
- 25g butter, melted

Directions
First, line a 22cm springform tin with baking paper and then prepare the chocolate swirl. For that, cut the chocolate into small pieces and place in a bowl together with 125ml double cream and place the bowl over hot (or even simmering) water and let it melt. When it all has melted, take the bowl off the hot water and set aside to let it cool a bit.

To prepare the base, crush 8 digestive biscuits and mix the crumbs with 25g melted butter. Feel free to double to biscuit and butter quantity if you prefer a bit thicker base, but I prefer the thinner base version (I've tried both). When all the crumbs are evenly covered with the butter, put the mixture into the cake tin and press down firmly.

Lastly, prepare the filling itself. For that take two bowls. In one mix together the sugar, Philadelphia cheese and the seeds from the vanilla pod, then set aside. In another bowl (a bigger one) whist together lemon juice, cream and creme fraiche (10% sour cream) until it forms soft peaks. Then add the cream cheese mixture to the double cream mixture and mix well.

To finish the cake, spoon a layer of the cream cheese mixture on the biscuit base, then swirl 1/3 of the chocolate and repeat this three times so you end up with three layers of chocolate and three layers of cream cheese mixture. And to create the swirl stick a knife blade into the cheesecake and swirl the cheesecake. Just don't try to smooth the surface as that would create a muddy effect.

What I did for my cousin's birthday was that I just created two layers of chocolate and three layers of cream cheese and then swirled the mixture. After that I piped his name and some decorations on the cake with the leftover 1/3 chocolate mixture.

When everything is ready, chill the cake for at least 5 hours (preferably overnight) and keep chilled until you need to cut it. I've also discovered that if you place the cheesecake in the freezer for like 15-20 minutes before serving it is a lot easier to take it out of the springform tin and the chances that the biscuit base will break are reduced.

Recipe adapted from Gordon's cheesecake recipe on BBC Good Food 


30 October 2012

Pumpkin cake with spiced crème fraîche

At first I thought I'd wait until Halloween to post this recipe, but thankfully I realised that someone might actually want to bake a pumpkin cake for the occasion and in order to do so I'd need to post the recipe a bit before the day itself.

Until recently, I had never though much of Halloween as to me it was a foreign (I'd even say a very US) thing to celebrate. But after trying pumpkin cake in one of my classes at school 6 years ago the whole concept of Halloween became a bit more familiar. I wouldn't say that I'm fascinated with Halloween now, but being allowed to dress up one night a year and then going out with friends is a lot of fun...

But, back to the cake now. I got the recipe from my English teacher who allowed me to post it on my blog. I fell in love with the cake the moment I tried it and I've made it for four past Halloweens and plan on carrying baking it for years to come. If you like carrot cake you are absolutely going to love this pumpkin cake - it is moist, soft and just melts in your mouth. And in addition it fills your kitchen with an amazing cinnamon smell. I do have to admit that grating the pumpkin is a tedious and time-consuming task, but the result is so worth it. And to add a little twist to the cake, I served it with a dollop of spiced crème fraîche, but trust me - the cake is incredibly delicious even without the crème fraîche on its side.

For past years I have made the cake using a different sized class and therefore the quantities here are just an indication of how much of what went into my cake this time. I'd suggest you take a normal 200-250ml glass and use that to measure the quantities (or even better, rely on you 'gut feeling' to determine the exact amount of ingredients needed).

Ingredients
-  1 glass of grated pumpkin (300g)
- 1 glass of sour cream (200ml)
- 100-150g butter, melted
- 1-2 glasses of sugar (300g)
- 1 tsp salt
- 2 eggs
- Lots of cinnamon (you can never have enough of it)
- 2 tsp baking powder
- flour (5tbsp)

- Crème fraîche
- Sugar
- Cinnamon

Directions
Heat the oven to 180C. Melt the butter and mix in the sugar and allow it to cool. In the meantime grate the pumpkin. When the butter and sugar mixture has cooled down add eggs, pumpkin and sour cream and mix. Then add flour with baking powder, cinnamon and salt and mix. Add more flour if necessary - make sure that the batter is not too thick nor too liquid. Pour the batter into a baking tin (lines with baking parchment) and cook for around 20-30 minutes (or until nicely cooked). Cooking time depends on the consistency of the cake you prefer (a bit gooey or well done) as well as the size of the baking tin you're using.

For the crème fraîche topping, mix crème fraîche with good amount of cinnamon and sugar and then place on top of the cake to serve. Your can serve it either warm or cold - its delicious both ways. And as there can never be enough cinnamon, I sprinkled some on top of the crème fraîche and on the plate.


9 July 2012

Chocolate cheesecake

Over the last weekend we had a huge celebration at home - all of us had something to celebrate and all the relatives and family friends were over at ours ... and I was put in charge of desserts (this explains why the blog is flooded with desserts right now). As I am a proper chocoholic, the combination of cheesecake and chocolate sounds like heaven to me and as I noticed, I'm not the only one who thinks that way.

I made the cheesecake with Geisha chocolates ( http://www.fazer.com/Brands/Geisha/About-Geisha-/ ) but as I have not yet seen them in the UK and I do not think it is possible to order them online, any other chocolate sweet would do just as well - one could even use real truffles in the cake for an extra special occasion.

As the cake is made with dark chocolate (way to fool the mind to thinking that what you're eating is actually healthy and good for you) it is not too sweet. Just a perfect balance between sweet and bitterness put in a silky smooth texture with a hint of sweetness created by addition of Geisha. When I was enjoying my tiny slice of it only one thing passed through my mind: "It's way too good to be true." But it was so true and so good ... the only bad thing was that the cake didn't last long enough.

Ingredients
(Serves 12)
Base:
- 150g cocoa biscuits
- 50g butter, melted

Filling:
- 175g good quality dark chocolate, melted
- 500g Philadelphia cheese
- 2 dl sugar
- 3 eggs
- 3 egg yolks
- 1.5 dl sour cream
- 100g Geisha (or any other) chocolates

- Decorate with physalises, icing sugar, chocolate leaves and anything else of liking.

Directions
Preheat the oven to 180C and line a 24-cm springform tin with baking parchment.

For the base, crush the biscuits and mix together with melted butter. Then press the crumbled biscuits into the tin and set aside.

To make the filling, melt the chocolate in a bowl over hot water and then let it cool down a bit. Mix Philadelphia, sugar, eggs, egg yolks and sour cream until smooth. Then add the chocolate. Last, halve the Geisha chocolates and mix them into the rest of the mixture. Pour it on the base and bake for 1 hour. Chill for overnight and decorate right before serving.

Recipe from a book "Juustukoogid"


Classic cheesecake

Cheesecakes are one of my favourite cakes and over the years this one has become the one which I bake for every occasion and which always finishes first. I've made this covered in chocolate or decorated with different berries and every single time it has come out absolutely amazing. However, I think that it is the best when just served with some physalises - their distinct taste and slight sourness complement the smooth texture and sweetness of the cake just right.

Whenever I make this cake I always remember one of my dear friends, who told me that if I ever set up my own cafe or bakery, he would make sure that I won't go out of business as long as this cake was available. This really sums up all I can say about the cake ... apart from the fact that I could finish one off just by myself without a problem. One of my all time favourites - it has been that since the first time I made it and will most definitely be on the list for many-many years to come.

Ingredients
(Serves 12)
Base:
- 2 eggs
- 0.75 dl flour
- 0.75 dl sugar
- 50g butter, melted

Filling:
- 2.5 dl sugar
- 2 tbsp flour
- 800g Philadelphia cream cheese (2 full fat, 2 medium fat ones)
- 2 eggs
- 1 tsp vanilla sugar
- 3 dl cream

- Handful of physalises, to decorate (or any other fruit, chocolate etc)

Directions
Preheat the oven to 200C. For the base, place sugar and eggs in a bowl and place the bowl over hot water and whisk until the mixture is fluffy. Let it cool down, sieve in the flour and add the melted butter and mix well. Line a 24cm spring form cake tin with baking parchment and pour the base into the tin. Bake for 15 minutes.

For the filling, mix flour and sugar in a bowl. Add Philadelphia cheese and whip until mixed well. Then add eggs, vanilla sugar and cream. Make sure the filling is smooth, without any clumps and mixed well. Pour the mixture on the base and cover with aluminium foil. Bake at 175C for around 1 hour and 5 minutes. Before taking the cake out, check that it is ready - it is not supposed to be liquid in the middle.

Let it cool down and then place on a plate. Chill the cake before serving (preferably overnight in the fridge) and decorate it either after putting on a plate or right before serving.

This cake lasts few days and as usually for cheesecakes only gets better with time - but usually there is none left for the day after so I can't really verify that.

Recipe from a book "Juustukoogid"


27 June 2012

Strawberry & chocolate cake

Today is my sister's birthday and I made her a proper birthday cake. It wasn't as easy as I though to come up with an idea as she is quite picky with things she eats. I was told that it has to contain berries, cream cheese filling and chocolate and it has to be decorated with silver pearls. Really wish that I could dictate what I want in my birthday cake and then it would magically appear out of nowhere, but that's never going to happen. Anyway, while I was making the cake, my sister scraped the bowls for the cake and for the filling so already during making it I knew the cake would be delicious. The moist and perfectly chocolatey sponge, the sweet and juicy strawberries coupled with the cream cheese filling just make an irresistible combination...


Ingredients
Sponge:
- 3 eggs
- 200g flour
- 200g sugar
- 3 tbsp cocoa powder
- 2 tsp baking powder
- 200g butter, softened
- 100g milk chocolate chips

Filling:
- 50g white chocolate, melted
- 150g fat free Philadelphia
- 2 tbsp icing sugar
- 400g strawberries, sliced
- Silver pearls, to decorate.

Directions
Heat the oven to 160C fan / 180C. Butter and line a springform baking tin or a bundt cake tin. In a big bowl, mix together eggs, sugar, cocoa powder, baking powder, soft butter and sifted flour. Lastly add the chocolate chips and stir until they have spread out evenly. Place the mixture in a cake tin and bake for around 25 minutes (if using normal springform tin, then a bit longer). Leave to cool in a tin for 5 minutes and then cool completely on a wire rack.

For the filling, melt the chocolate in a bowl over hot water. Then let it cool a bit and whip in the Philadelphia cheese and the icing sugar, keep whipping until the filling is smooth.

To assemble the cake, cut the cake into half. Spread 2/3 of the filling on the bottom half of the cake, then cover it with strawberries and place the other half on top of the strawberries. Then spread the rest of the filling evenly on the top of the cake and decorate with the rest of strawberries. Then sprinkle over with some silver pears or icing sugar or any other cake decoration.


9 May 2012

Raspberry ricotta cake

Baking has been one of my passions for as long as I can remember and whenever I host an event I always bake something - muffins, cakes or biscuits. It is quite easy to come up with ideas when it is just few friends who are coming over, however, when it will be more than 10 people it gets a bit more tricky. Usually, most cakes serve around 10-12 slices and I rarely have the time to make more than one. Also, muffin trays only have 12 holes and therefore until now I've been stuck with making several batches to make sure there's plenty of food for everyone.

This weekend we had a nice get-together in our flat. At first we were supposed to go out and have a nice picnic in the park, but weather was typically British and therefore we had no choice but to stay indoors. When deciding what to make, I wanted to make sure that I would not have to slave in the kitchen for hours and that one batch would be enough for everyone, I got a really clever idea - I should bake a cake in a way they are made back in Estonia. So, instead of messing about with a  round cake tin I decided to make a nice and big cake in the baking tray. The result was delicious - ricotta gave the cake the required freshness and a bit sour raspberries balanced out the sweet crust. Will definitely make this again during summer!

Ingredients
(Serves 1 large baking tray)
Base:
- 400g butter, at room temperature
- 2 dl sugar
- 2 eggs
- 12 dl white flour

Filling:
- 2 dl sugar
- 2 tsp vanilla sugar
- 5 eggs
- 800g ricotta cheese
- 2 dl sour cream
- 2 dl raspberries

Directions
Heat the oven to 200C. For the base, mix together butter and sugar. Then add eggs and flour and mix until the dough is smooth. Put 3/4 of the dough on a baking paper lined large baking tray and even it out, so that it cover whole of the tray.

For the filling, whisk the eggs together with sugar. Add ricotta and sour cream and mix until smooth. Pour the mixture on top of the dough, sprinkle over with raspberries and top it off with crumbs of the remaining 1/4 of the dough. Cook for 30 minutes or until ready.

Serve either hot from the oven or let it cool down and chill it in the fridge and serve cold.

Pictures taken by my dear friend K.